Preliminary
A deeper look into Camera Angles/Shots
A deeper look into Camera Angles/Shots
Experimenting with Photoshop
The first instance of willingly using Photoshop began with wanting a high quality wallpaper.
I had set my sights to search for a pretty wallpaper with one of my favorite characters from one of my favorite games.
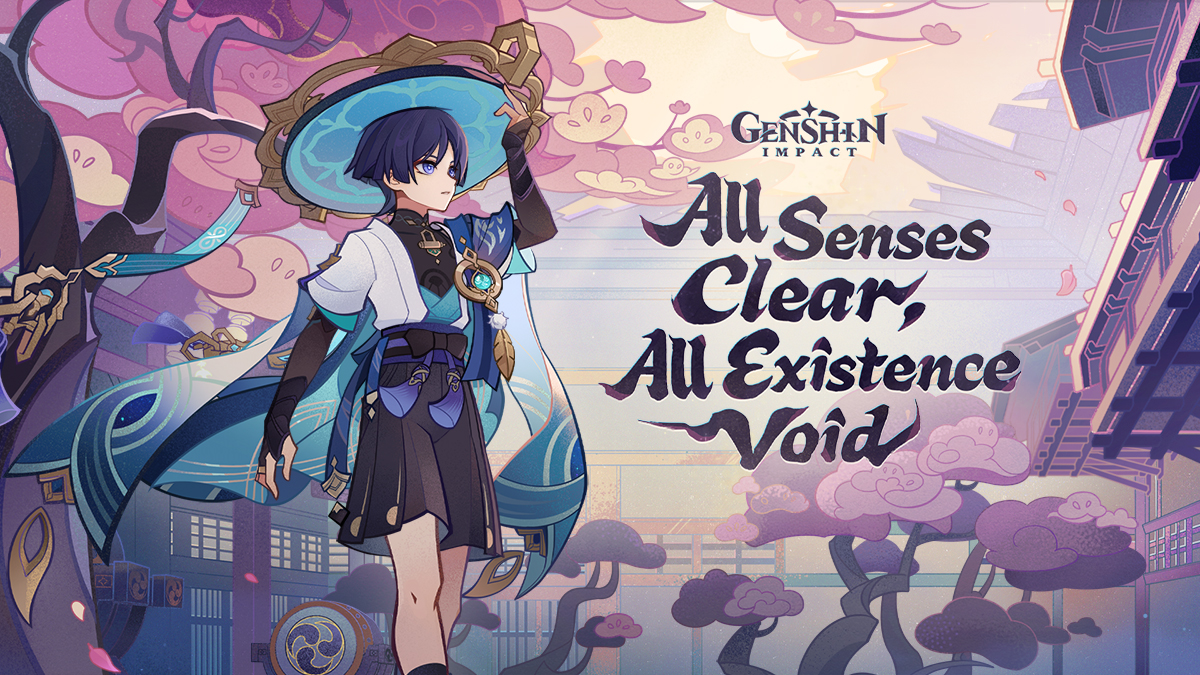
When I checked the game's version highlights on their website, the perfect opportunity had arrived, as per usual, they had a dedicated website featuring all the updates for their next patch, and as always you could download the preview image via the top right share button or download icon. Best of all? It featured one of my favorite upcoming characters from one of my favorite games of all time. You can find the website here.
It was perfect.
. . . Except for the annoying QR-code right in the middle of the screen. It was irritating to see every time I opened my laptop, it obstructed my view of the otherwise perfect image.
By the third day I had enough. I decided it was time to do something about it.

So I started searching, but nothing was good enough. The fanarts were either not high enough quality or weren't in the dimensions I wanted. None had my favorite character from my favorite game with the perfect quality worthy for my background.
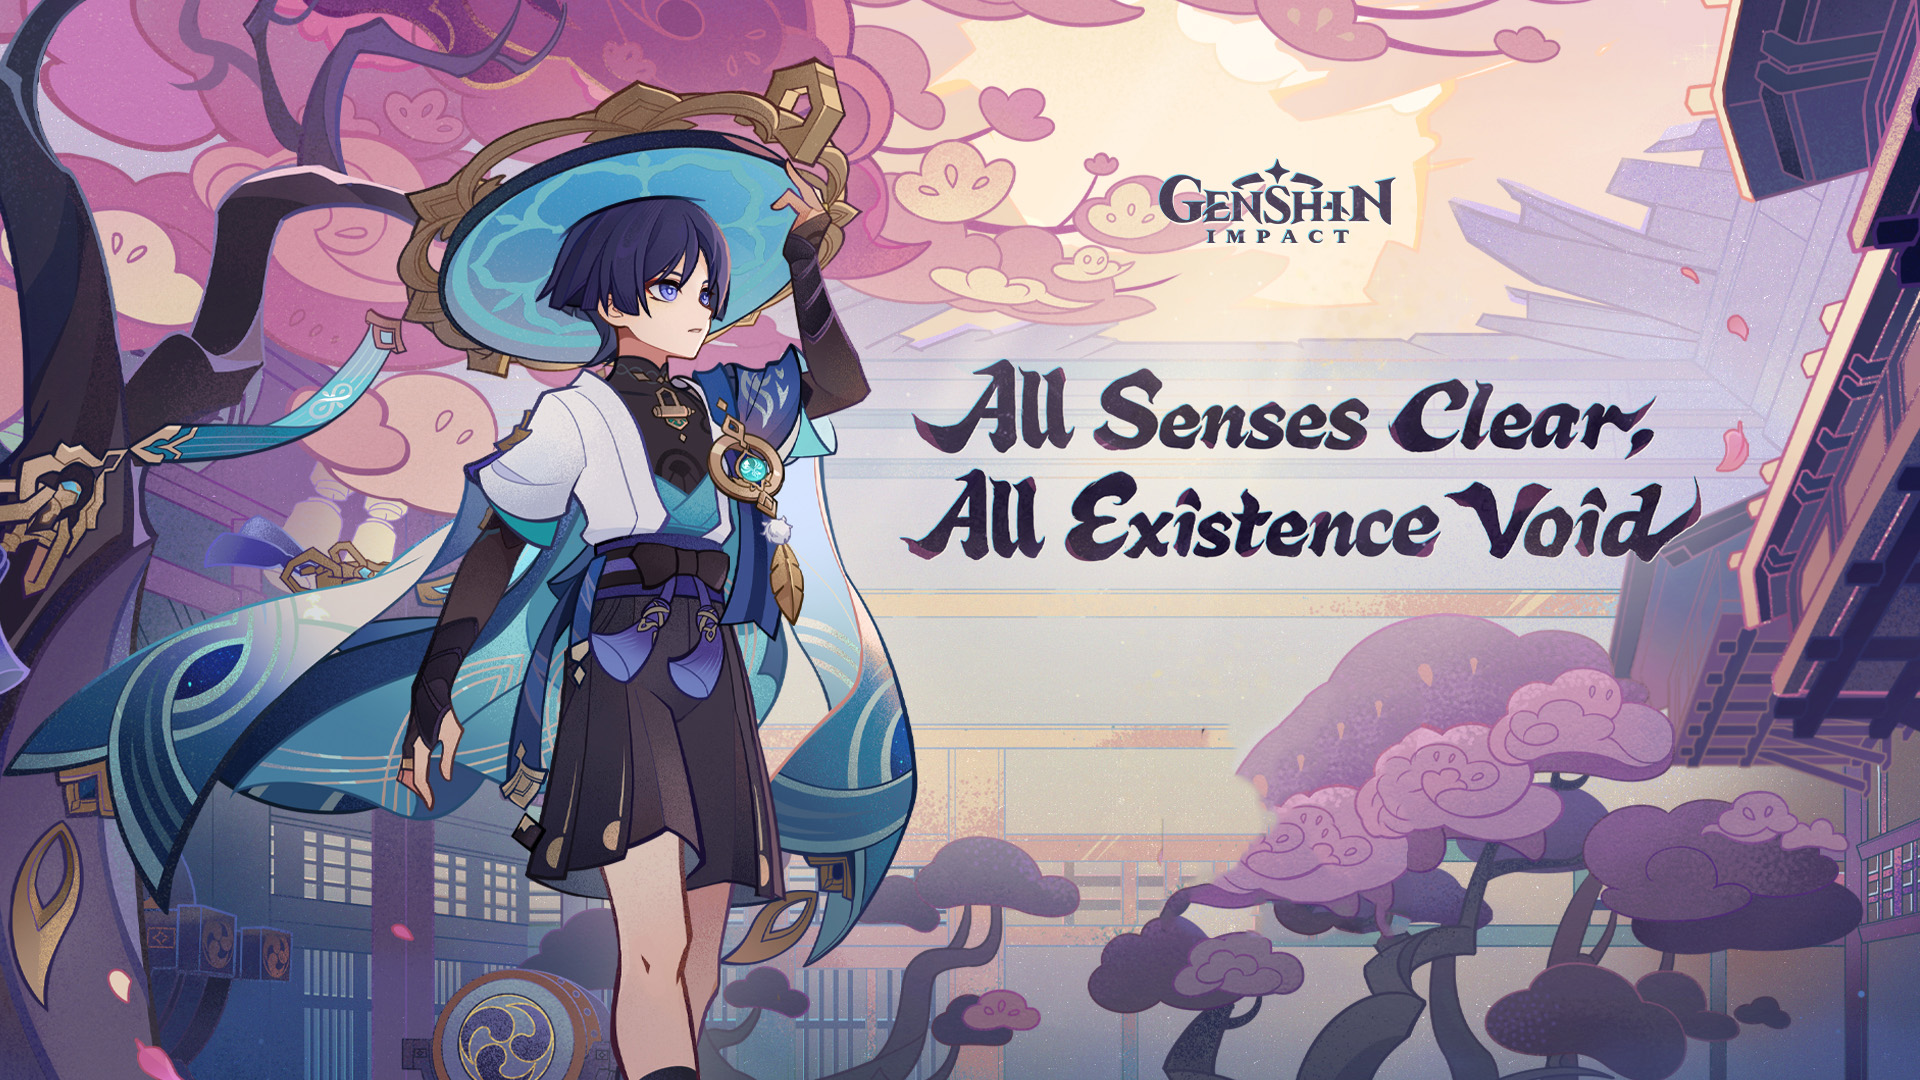
To which, I searched for the source of the art using reverse image search in hopes of finding a version of the same image without the QR- code.
Once again, it was perfect.
Except it wasn't. The text took up too much space, and the image itself was low in resolution in comparison to the original image, it became grainy and unappealing to look at. I was disappointed, I was soooo close. So close. So close to getting the perfect and right image for my laptop background.
I began questioning the amount of time I spent looking for the perfect background wallpaper, it was starting to seem like a waste of time. Yet, it still didn't feel good enough, I didn't want to settle for a background with bad quality, nor was I happy with the QR code.
So I was left with my last resort: actually doing work.
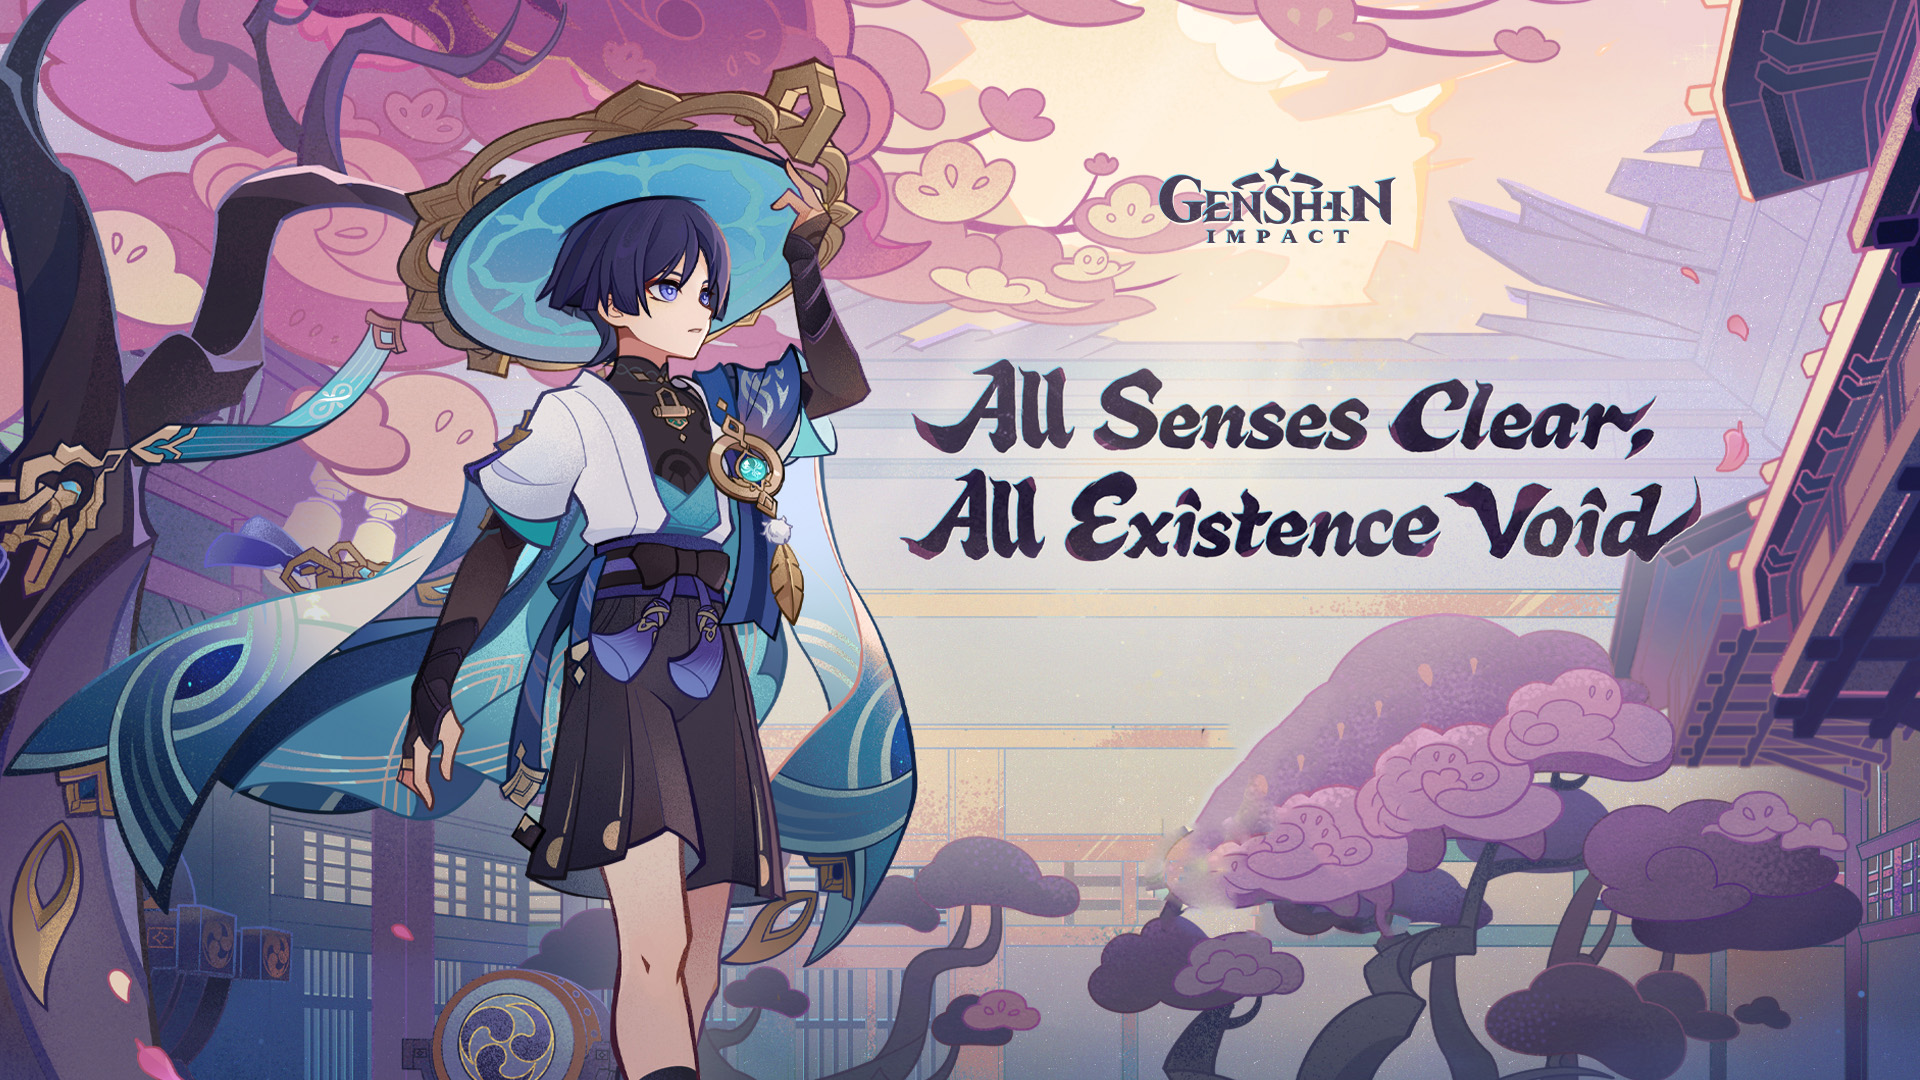
I launched photoshop and with the help of spot healing, removed the ugly QR code.
I felt like I was getting closer, though it still wasn't at its best, I tried to fix it through smudging.
The results were painfully mediocre. So after playing around with various tools, like patch tool, smudge and the other healing brush, filling out other imperfections through using the eyedropper and the brush. It was looking better, it seemed like I was getting close to the right background, like a full image.

It still wasn't good enough from a design standpoint. So I scrapped it all and started again, this time using Clone stamp tool and touching up with brushes. I felt accomplished, it was getting better.

Here are all the changes I had made until settling on a final product.


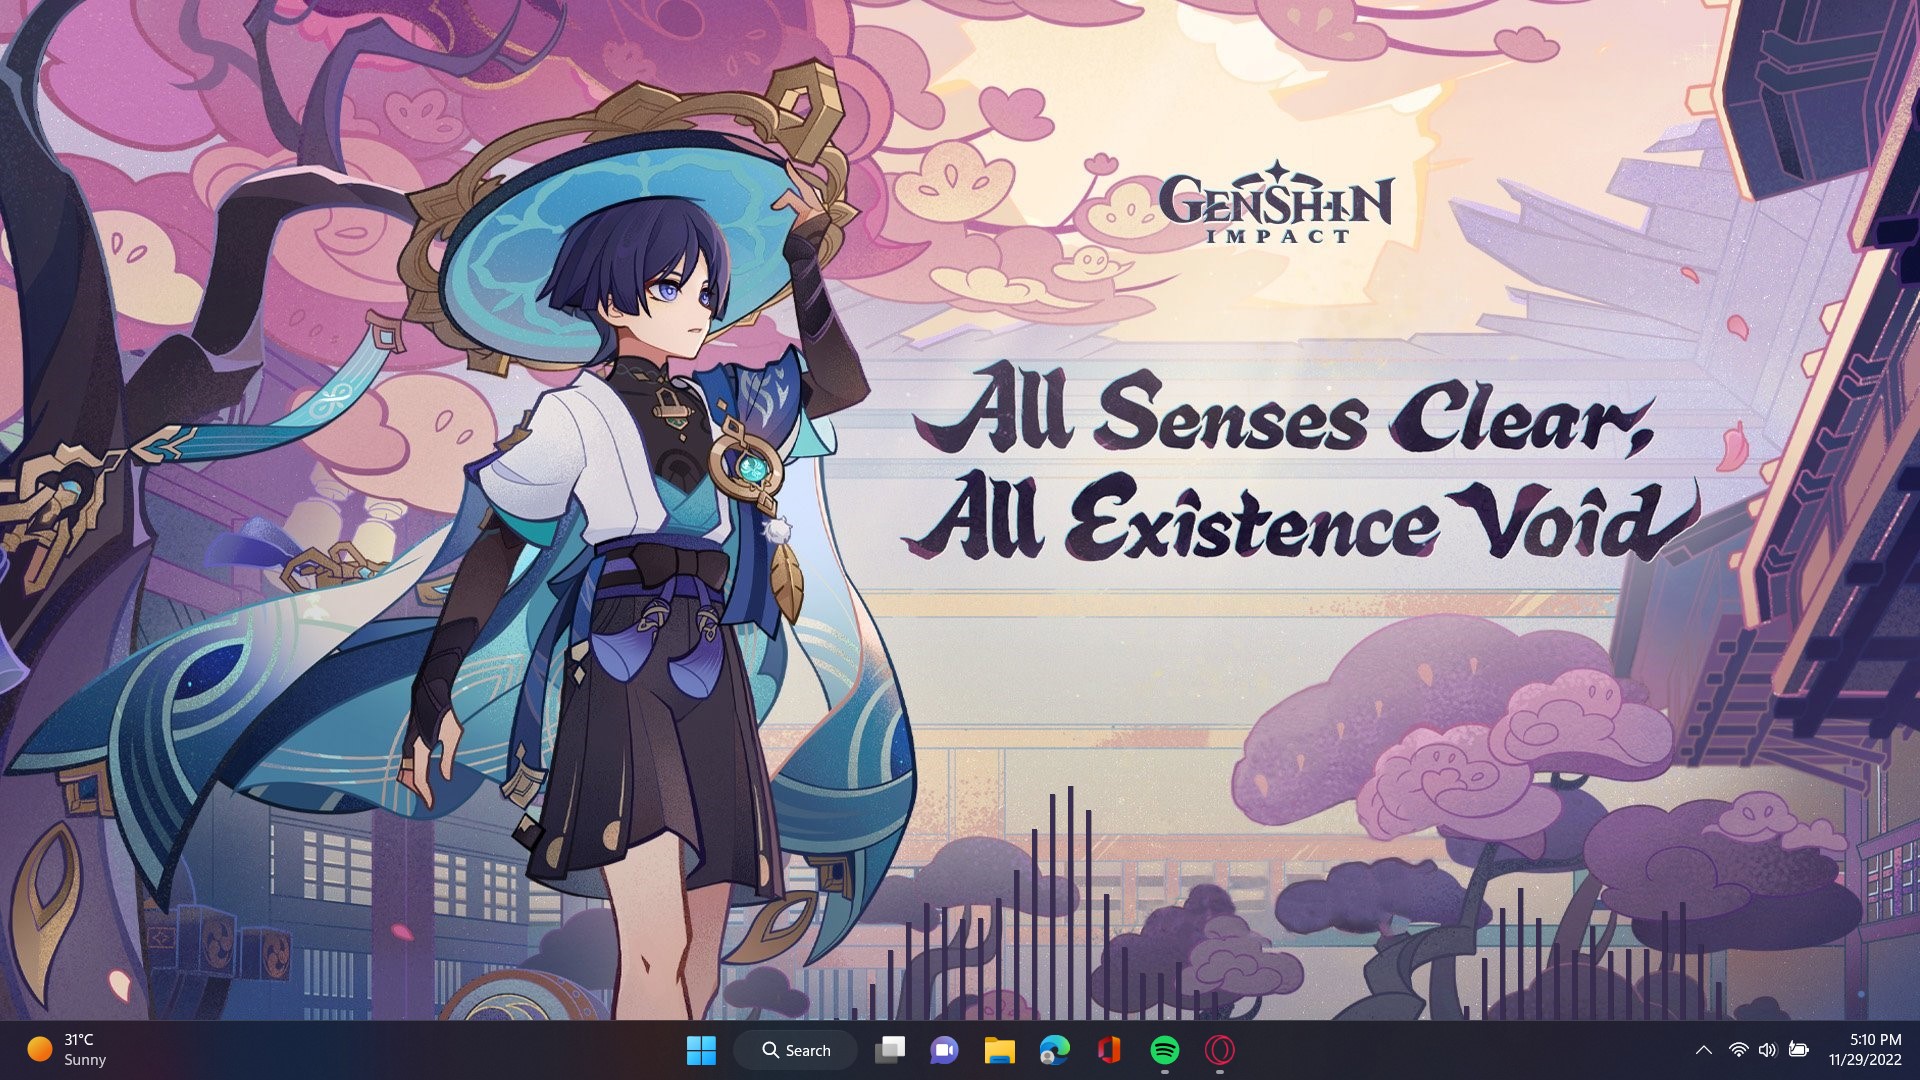
In the end after all the retries and changes, I ended up with this final piece. I'm pretty proud of how far I had gone, how good it looked, and how a fraction of my wallpaper was my work. Now, the only problem I have left is instinctively looking at the tree instead of the main subject.
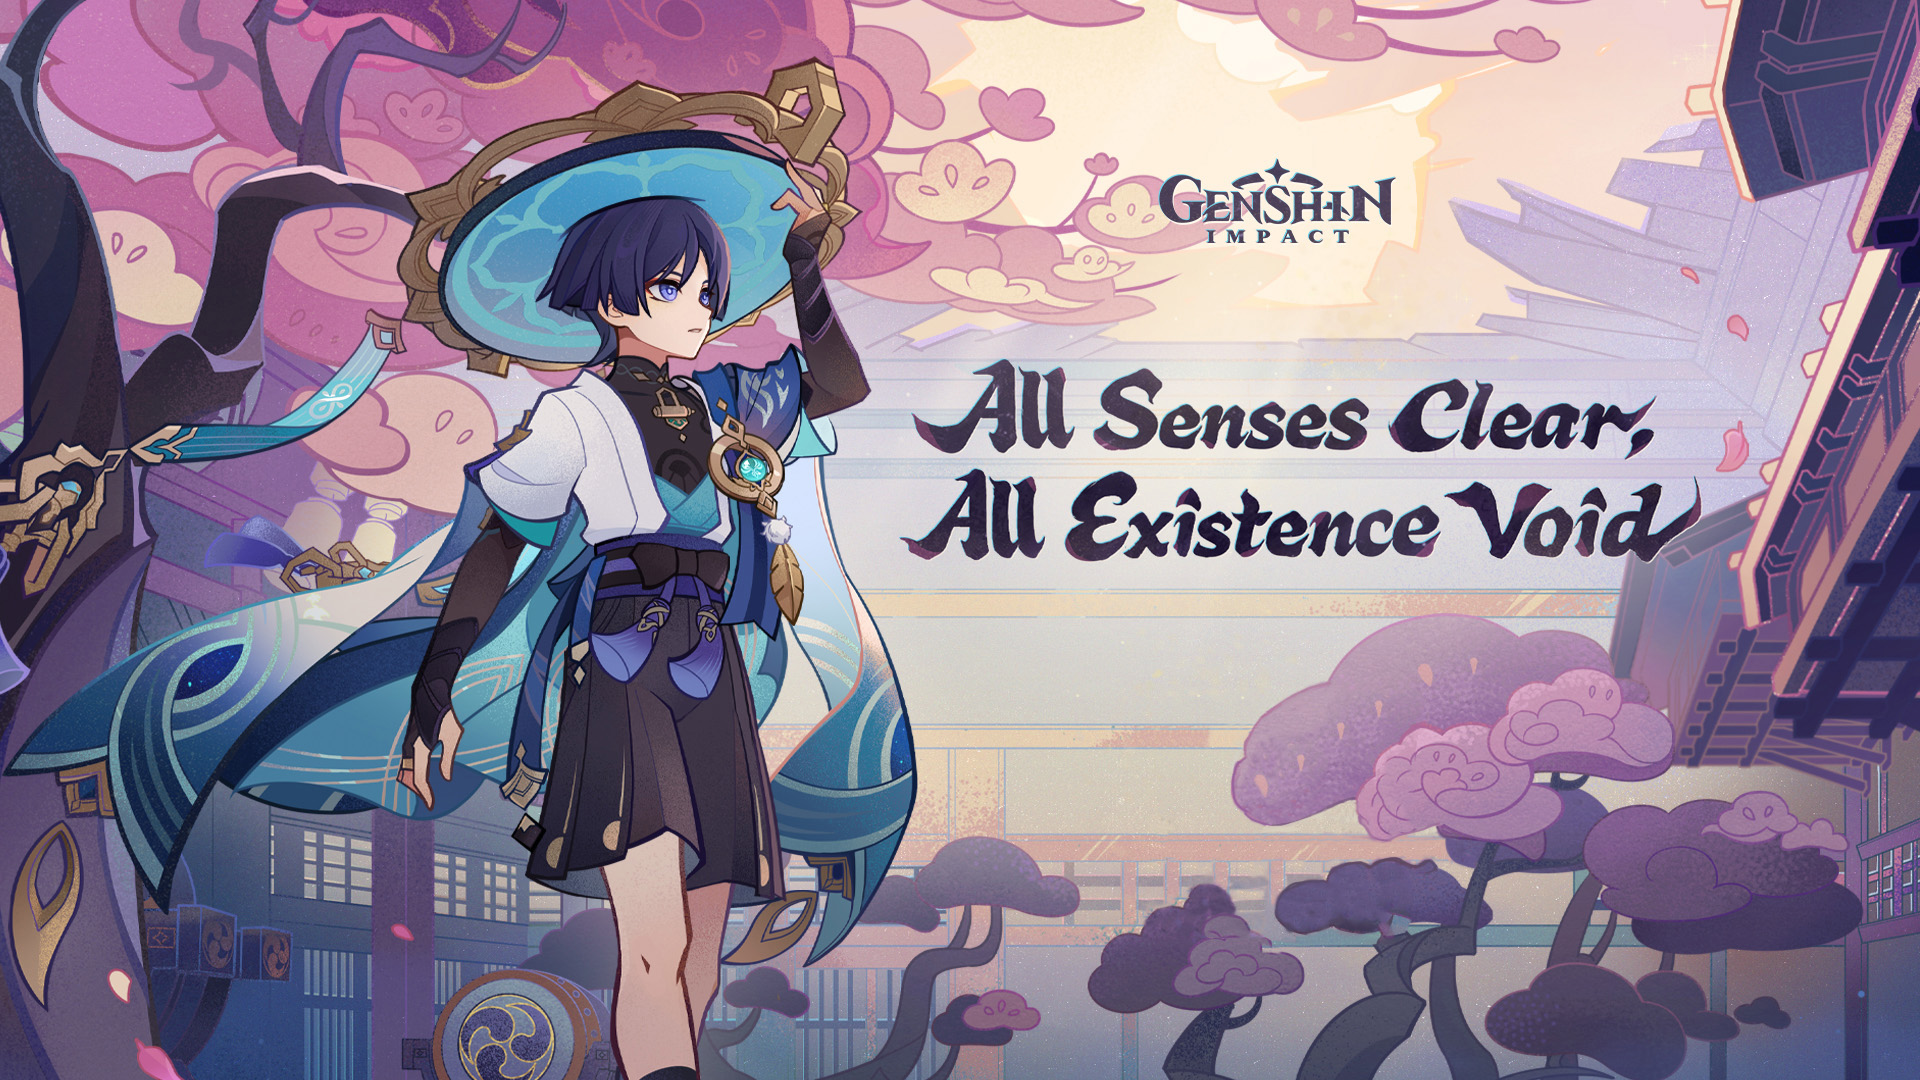
Here is the image standing proudly as my background.
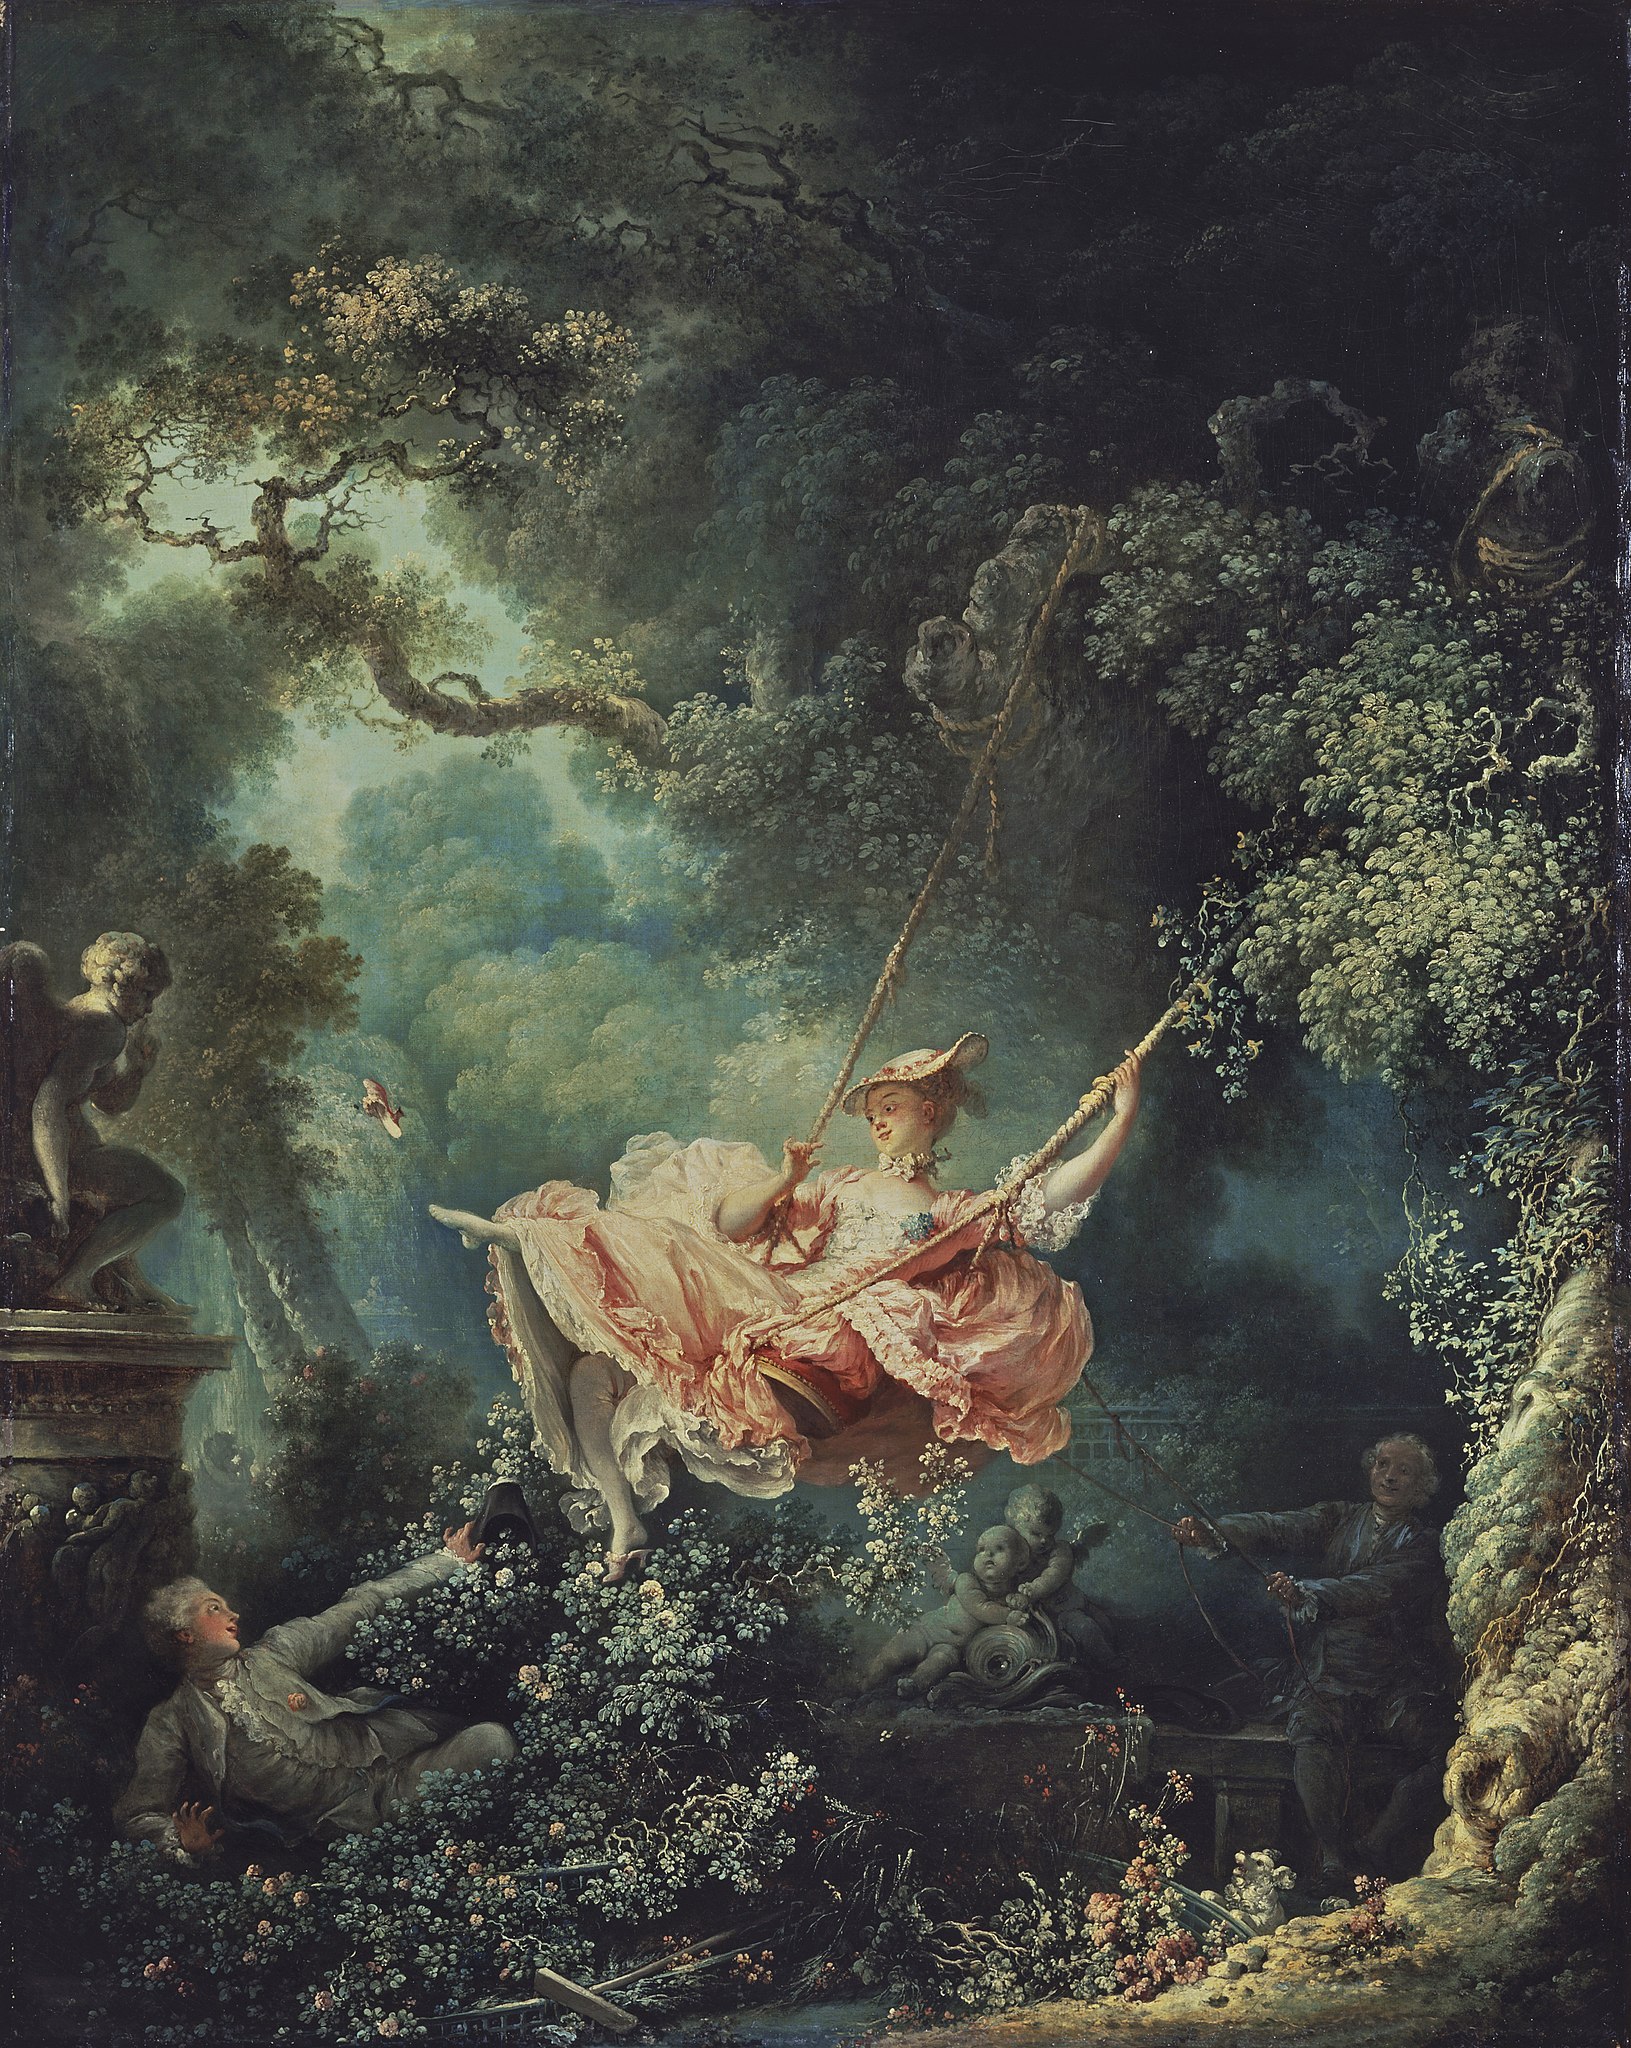
Here I tried creating a magazine via photoshop from scratch without references, as a designer I was pretty familiar with what a good magazine should look like and I was confident of my skills. I looked for an image related to my art theme, I decided on "The Swing" on a whim, it felt like it was calling my intuition. It was the right size and the perfect image for this as well, considering the main subject is front and center, I could frame her around text.
I started framing her with blocks of text, using the eyedropper to choose colors from the image, white seemed too bright for such muted colors. I made multiple variations with this, all subtle in change like spacing, and text order and color, trying to search for the perfect version. The two fonts I used were Prata and Josefins Sans.

.jpg)
.jpg)
I finally chose my first version as it framed her well. I liked the way it surrounded her and how I could easily apply changes to her as I could make this kind of format would be flexible to work with. I then decided of the theme of movement, as she's in an active pose and played with 2 variations under this theme.
The first was made by using the selection tool and selecting the woman, I overlayed her on top of the base image and layered her on top of herself multiple times. I like this effect but I think it looks a bit choppy as the rope doesn't extend all the way.
The second was easily made by the original image on a different layer shifted slightly to the right, with less opacity so you could view the details beneath. It looked like the quality was considerably reduced, so I didn't like it.


I didn't like either version so I scrapped it and changed the style, this time I used the fake background technique instead. I placed the original image on a higher layer, selected the parts I wanted on top and inverse selected to get the rest of the image to delete. This was my final piece and I was quite happy with this exercise considering it only took an hour.

Here are the tools I used to make my wallpaper.

HEALING BRUSH TOOL
The healing brush tool is essentially the same as the spot healing tool, except you can choose pixels from another part of the image. This was like a fusion of the clone stamp and the spot healing brush and was perfect for the type of work I was doing, it was simple, convenient and extremely fast. I only used the clone stamp over the healing brush tool when I wanted to replace or copy parts of the image with exact textures from another part of the image.

SPOT HEALING TOOL
The spot healing tool helped with taking off marks and blemishes, automatically filling in what was left behind, this helped a lot with the initial stages of removing the QR code from the image. This tool was the driving force and was the tool that allowed me to begin the project
I also used this occasionally when fixing other parts of the image as I saw fit.
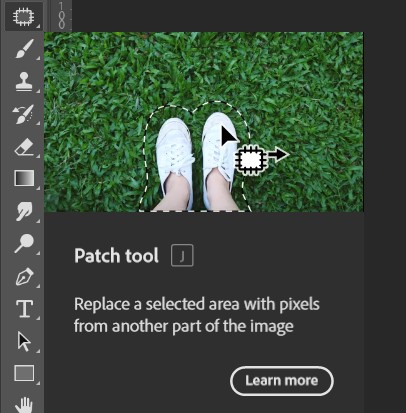
PATCH TOOL
The patch tool was also a key tool that helped in the initial stages of removing the QR code. This helped with fixing and adjusting certain parts of the image to match with the area around it... Although, this would have been a better tool if I actually learned how to properly use it. I soon got sick of using a tool I didn't understand and settled with an alternative tool that seemed much easier to use. The tool is listed below.
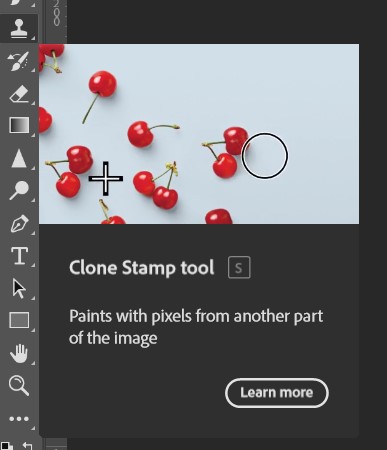
CLONE STAMP TOOL
The clone stamp tool is a tool I used for the majority of the piece, since I didn't have the exact brushes to paint over areas while replicating the texture. This tool helped with copying elements, you could also choose which part of the image you wanted to replicate which was perfect for this scenario since it meant I could choose colors and textures from all over the picture.
It was the main tool used throughout the whole process, and one I couldn't do without

BLUR TOOL
The blur tool helped with editing parts of the healing that didn't make sense. It was a lazy and simpler way to blur parts out of the image and made it look more cohesive overall.
Later on I realize the blur on certain parts of the image affected the look and quality, it also didn't look right in terms of the style, since the lineart was sharp and meaningful. It looked like the quality had dipped in parts of the image rather than making it look better.

SMUDGE TOOL
The smudge tool helped with smudging and moving the direction of certain colors, this helped much more than the blur tool, which only blurred an area off, the smudge tool would blur and mix colors in a certain direction. This helped a lot more since it meant I could move and expand a certain area of the image, particularly the tree, I smudged the bottom half of the tree at first so that I could move that color off to the side and shape out the tree using that same color. I scarcely used the tool and it didn't make it to the final piece, but it was good practice.
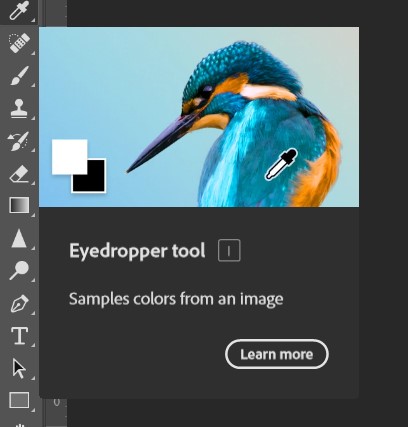
EYEDROPPER TOOL
The eyedropper tool worked in tandem with the brush tool as I needed to work with the exact colors available, at first I constantly used the shortcut "I" followed by the shortcut "B" for brush. I later discover from quick swapping from clone stamp "S", and using "alt" for selecting which part of the image I wanted, to brush "B" that I could quickly eyedrop holding "alt" when using the brush, the process was smoothened and faster that way.
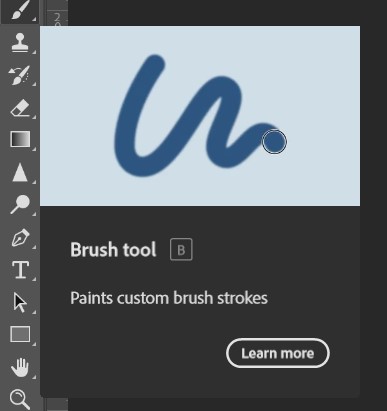
BRUSH TOOL
In a perfect world the brush tool would be the main tool of this project, it would cover and create trees, I could use the brush to color in and create elements with my art skills. Unfortunately, among the library of brushes I had installed, none of them matched the texture that was being used in the art. So instead I used the cloning tool, however this tool fulfilled it's role when I needed to refine the edges of lineart for my quick fixes.

SHARPEN TOOL
The sharpen tool played its role in sharpening the lineart of the blunt and fat brush tool, in this way I easily fixed and perfected some of the lines in the art I had made with a mouse. I barely used this tool, but it helped in enhancing the results.
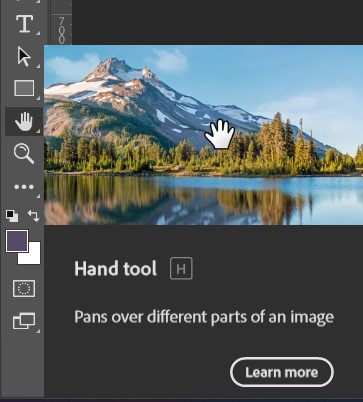
HAND TOOL
The hand tool, in itself, had no use, I didn't use it at all at first as I thought it would be a waste of time to move the image with the hand tool when I could use my touchpad or zoom in and out with my mouse to find the right place.
However, when I discovered I could quickly move around when pressing the space bar, the hand tool was fairly good in speeding up the process since it meant I didn't have to lift my hand from the mouse to touch the touchpad. This was good for me since it meant I could do much more work at a faster rate.
Here are the tools I used to make my magazine.
QUICK SELECTION TOOL
The quick selection tool was probably the most important tool in making the magazine work. I particularly preferred it over object selection and magic wand as it would slowly take segments I chose, I had full control over it.
It did the work seamlessly and helped me select the woman and parts of trees I would then use on top of the image.

TYPE TOOL
The type tool was used for all the text around the image, I used Josefins Sans and Prata as my primary font choices. I would play with their font sizes, colors, opacity and capitalization.

EYEDROPPER TOOL
The eyedropper tool was exclusively used when choosing colors from the image for the text, it was used hand in hand with the type tool to choose the exact colors, choosing white felt wrong due to its brightness and large contrast with the image behind it.

MOVE TOOL
The move tool was used for moving the overlayed image for my first and second attempt at the theme of movement. I used the move tool two or three times, its usage was fast, quick and comfortable.
